
Last updated November 16, 2026
 Wrought iron
 Wood & steel frame
 Farm & ranch
 Sliding driveway gates
 LiftMaster operators
Free on-site gate assessment - hinges, posts, and your LiftMaster or Nice gate operator checked before anything is quoted
The assessment is free and the quote is the invoice.
Get your free estimateGate Repair Troubleshooting in Chico: Common Problems and How to Fix Them
Most gate owners wait for a total failure before they look at anything. That’s the wrong order. In our experience, a gate almost never “just stops working” – it drifts, stutters, reverses, or slows down for days before it quits, and the clues it leaves along the way point straight at the cause. The trick is learning to sort what you’re seeing into one of four failure categories: power, signal, mechanical, or control board. Once you know which category you’re in, you stop guessing. This guide shows you how to read your operator’s fault codes, why a Chico summer can throw off limit switches, how a gate that won’t open at all differs from one that reverses mid-cycle, and which checks are safe to do yourself.
Quick Answer
A gate problem almost always falls into one of four categories: power (battery, breaker, solar), signal (remote, keypad, safety edges, loop detector), mechanical (hinges, rollers, track, sagging posts), or control board (fault codes, limit settings, logic). Identify the category before touching anything, read your operator’s flashing fault code, and check the battery backup and safety sensors first – those two alone account for a large share of the calls we run in Chico. Anything involving the operator’s wiring or 120-volt power should go to a trained technician.
Styles & brands we work with
- Wrought iron
- Wood & steel frame
- Farm & ranch
- Sliding driveway gates
- LiftMaster operators
Table of Contents
- The Four-Category Diagnostic Framework
- How to Read Your Gate Opener’s Fault Codes
- Won’t Open at All vs. Reverses Mid-Cycle: Two Different Problems
- Why Chico Summer Heat Causes “Random” Gate Behavior
- Five Checks You Can Do Yourself in Under Five Minutes
- Troubleshooting Steps That Can Void a Warranty or Damage the Board
- What Different Brands Tell You: Mighty Mule, LiftMaster, FAAC, and BFT
- When to Call a Professional
The Four-Category Diagnostic Framework
Every gate failure you’ll ever describe falls into one of four buckets. Sorting the symptom into the right bucket before you call anyone cuts the diagnostic time roughly in half, because each category has its own typical causes and its own typical checks. A technician who arrives knowing you’re facing a signal problem doesn’t waste the first twenty minutes hunting for mechanical faults. Here’s how the four categories break down.
- Power. The operator isn’t getting the electricity it needs. Dead battery backup, tripped breaker, loose transformer connection, failing solar panel on a remote unit, or a control board that isn’t powering up at all.
- Signal. The operator has power, but the command isn’t reaching it. A remote with a dying battery, a keypad with a bad wire, a safety edge that’s stuck closed, a loop detector that’s lost its tuning, or interference on the receiver frequency.
- Mechanical. The operator is trying to move the gate, but the gate itself is resisting. Worn hinges, dry rollers, a bent track, a sagging post, debris in the track, or a chain that’s jumped its sprocket.
- Control board. The brain has a problem. Fault codes, corrupted limit settings, logic errors, or a board component that’s failed. This is the category where the fault-code reading matters most.
To sort your own symptom, start with a simple question: does anything light up or beep when you press the remote? If yes, you have power and can rule that category out. If the gate moves but stops, you’re in mechanical or control board territory. If it cycles fine but the remote only works from certain angles, you’re facing signal. This is the same logic we walk through on every electric gate repair call in Chico – the category comes first, the repair comes second.
How to Read Your Gate Opener’s Fault Codes
Most modern gate operators blink an error pattern when they fail – a sequence of flashes on a diagnostic LED, usually labeled on the control board or in the manual. Reading that pattern is the fastest path to a diagnosis. On many LiftMaster units the board blinks a specific number of times to signal a specific fault (a safety-sensor issue, a limit-travel problem, a motor-overload condition). Viking and Apollo-style boards follow the same principle. Once you know the code, you know the category.
- Find the diagnostic LED on the control board. On most residential operators it’s a small LED near the terminals, sometimes labeled “DIAG” or “STATUS.” It’s usually visible with the operator cover off, and you don’t need to touch any wiring to look at it.
- Press the remote or keypad once and count the blinks. Wait for the gate to stop moving, then watch the LED. A pattern of blinks separated by short pauses is one code. A pattern of evenly spaced blinks is another.
- Check the inside of the operator cover or the manual. Most manufacturers print the fault-code chart on a sticker inside the cover. Cross-reference the blink pattern with the chart.
- Translate the code to a category. A sensor fault is signal. A limit-travel fault is control board. A motor-overload fault points to mechanical or a failing motor. This tells you what to check next.
- Write down the code before you call. If you end up calling us, the code shortens the conversation and gets the right part on the truck.
If the LED is dark or the operator is completely unresponsive, you’re in the power category, not a fault-code one. That’s a different diagnostic path and one we cover on the gate repair side of our service.
Won’t Open at All vs. Reverses Mid-Cycle: Two Different Problems
These two symptoms look similar from the driver’s seat but come from opposite ends of the system. A gate that won’t open at all is usually a power or signal failure – the operator never received a valid command or never had the electricity to execute it. A gate that reverses mid-cycle is a mechanical or safety-sensor problem: the operator tried to move, met resistance (or a false obstacle signal), and backed off to protect the gate. Treating them as the same problem is one of the most common diagnostic mistakes we see.
If your gate won’t open:
- The remote’s battery is dead, or the remote lost its pairing to the receiver (usually after a board swap or a power cut).
- The control board isn’t getting power – tripped breaker, blown fuse, loose transformer, dead backup battery on a solar unit.
- The safety edge or photo-eye is stuck in a “blocked” state, so the operator refuses to start.
- The limit switch is set past the travel point and the operator self-locks.
If your gate reverses mid-cycle:
- Something is physically blocking the gate – a stone, a bent track, a sagging hinge, or a chain that’s off its guide.
- The safety edge or photo-eye is being triggered by a misalignment, an insect nest, or a shifted mounting bracket.
- A limit switch has drifted, so the operator thinks it’s already at the end of travel.
- The motor is drawing more current than it should because the gate is stiff – dry rollers, worn hinges, or a post that’s settled.
That last point matters in Chico. Hot, dry summers dry out rollers and wooden gates, and settled posts happen more often on the valley’s expansive soils than we’d like. A gate that reverses “for no reason” in August is very often a stiffness problem, not a board problem.
Why Chico Summer Heat Causes “Random” Gate Behavior
Chico summers run well into the 100s, and that heat moves metal. Steel tracks, aluminum arms, and operator housings all expand slightly, and limit switches are calibrated in fractions of an inch. A limit switch that’s dialed in perfectly in April can drift just enough by August that the operator’s travel logic no longer agrees with reality – so the gate does something that looks random but is actually a predictable response to thermal expansion. The fix isn’t usually a new board. It’s a recalibration of the limit setpoints, and often a slight adjustment to the safety-edge sensitivity to account for thermal expansion in the mounting bracket.
Two other heat-related patterns come up repeatedly in Chico:
- Control boards running hot. Operators mounted in direct afternoon sun (common on south- and west-facing driveways here) can hit internal temperatures that trip a thermal protection circuit on the board. The gate stops, cools off, and works again – which reads to the homeowner as “intermittent.” A simple shade box over the operator housing solves more of these than any part swap.
- Battery backup fading faster than expected. Lead-acid batteries in gate operators age faster in high-heat conditions, and a unit that’s three summers into a hot Chico sun exposure can drop below the threshold a low-battery cutoff needs. If your gate beeps or hesitates only on hot days, check the battery before you check anything else.
If the operator’s been on the same south-facing fence line for a few years and the behavior started in July, assume heat first. Recalibrate, shade, and retest before you consider a replacement. Gate-only specialists see this pattern constantly in the valley; general handymen usually don’t.
Five Checks You Can Do Yourself in Under Five Minutes
These are the same five checks we’d do on a first visit. They’re safe, they don’t involve opening the operator’s electrical housing, and they resolve a good chunk of the “it’s completely dead” calls we get in Chico. Work through them in order.
- Press the manual release and try the gate by hand. If it moves easily, the mechanical side is fine and you’re chasing a power or signal problem. If it’s stiff or binds, you’ve found mechanical trouble without touching the operator.
- Check the remote battery. Most remotes have a small LED that flashes when a button is pressed. If the LED is dim or absent, replace the battery. If a spare remote works, the problem is the remote, not the system.
- Look at the safety sensors. Walk the photo-eye or safety edge and check that the lenses are clean and aligned. A dust-coated lens on a Chico driveway in July is a common cause of “the gate reverses every time a car drives up.”
- Check the breaker and the operator’s fuse. The operator should have its own circuit; look at the panel. If the breaker is tripped, reset it once and see if it holds. If it trips again, stop – that’s a wiring fault, not something to keep resetting.
- Count the diagnostic LED blinks. If a code appears, write it down. See the fault-code section above for how to translate it.
What you should not do yourself: open the operator’s main electrical housing, probe any 120-volt wiring, bypass a safety edge (even temporarily), or work on the operator while the power is on. Gate operators run line voltage to components that are easy to contact, and the mechanical arms carry enough stored force to injure a hand between the gate and its post. All of that is a job for a trained technician.
Troubleshooting Steps That Can Void a Warranty or Damage the Board
Most gate operator warranties have language that voids coverage for unauthorized disassembly, electrical modifications, or “field repairs” by anyone other than a qualified technician. That’s why the order of your troubleshooting matters. Reading a fault code, checking a battery, clearing debris from a track, and cleaning a sensor all sit safely inside what you’re allowed to do. Bypassing a safety device, swapping a board, jumping a fuse, or “testing” a wire by holding it against a terminal are the kinds of moves that end up costing more than the original problem.
The specific steps to avoid, unless you’re a trained technician:
- Jumpering or bypassing the safety edge or photo-eye. Voids warranty on most brands and defeats the operator’s main safety function. It can also damage the control board’s sensor circuit.
- Pulling a fuse to “reset” the board. Resetting a board’s memory can wipe limit settings and force a full recalibration – a job that costs more than the fuse saved.
- Replacing the control board before checking power. A failing transformer or a weak battery can mimic a dead board. Swap the board first and you’ll just burn the new one.
- Adjusting the limit switches without the manual. Half a turn in the wrong direction can force the operator to drive against its own mechanical stop.
- Testing wiring with the power on. The risk is injury first, board damage second. Both are avoidable.
If you’re unsure whether a step is safe, don’t take it. A free estimate costs less than a board.
What Different Brands Tell You: Mighty Mule, LiftMaster, FAAC, and BFT
Gate operators from different manufacturers communicate their faults differently, and knowing what your brand tends to do saves time. A Mighty Mule residential unit, for example, is a common DIY-installed system on Chico driveway gates, and its control board tends to blink a well-documented fault pattern that points you straight at the category. A LiftMaster is more common on professionally installed residential and light-commercial gates, and its diagnostic LED behavior is typically more detailed – it can distinguish a safety-sensor fault from a limit-travel fault from a motor-overload fault in the same blink sequence. FAAC and BFT European-style operators are common on heavier swing gates and commercial sites, and their boards often report faults through a combination of LED codes and audible beeps.
What matters less is the brand name and what matters more is that the person diagnosing it knows the brand. We work on nine manufacturers – LiftMaster, FAAC, BFT, Linear, Viking, Ghost Controls, DoorKing, Elite, and Mighty Mule – which means the diagnosis doesn’t stop because the operator on your gate isn’t the one the technician happens to stock. Whether it’s a Mighty Mule on a driveway gate or a DoorKing on a small commercial lot, the failure categories are the same; the fault-code chart is the only thing that changes.
If your gate is on a commercial property in Chico, that DoorKing behavior is worth knowing: those units often log fault codes internally, so a technician with the right reader can pull the history and see whether the problem has been building for weeks. That’s the kind of information a general handyman can’t get to.
Common Mistakes to Avoid
- Replacing the whole operator because the gate “just stopped.” A dead backup battery, a tripped breaker, or a misaligned sensor account for a large share of “dead gate” calls. Rule those out first – the operator is the last thing to replace, not the first.
- Bypassing the safety edge or photo-eye to “test” the gate. On Chico gates with kids or pets in the yard, this is a serious risk. It also voids most warranties and can damage the board’s sensor circuit.
- Adjusting limit switches on a hot August afternoon. The thermal expansion you’re calibrating against will reverse itself in October. Set limits in mild weather, or expect to adjust again.
- Greasing wooden or aluminum tracks as a fix for stiffness. Grease attracts dust, and Chico’s dry summer air turns greasy dust into an abrasive paste that wears the track faster than running it dry would.
- Ignoring a slow reversal. A gate that “only reverses occasionally” is usually telling you a hinge, roller, or post is failing. Ignoring it long enough turns a mechanical repair into a motor replacement.
- Assuming the remote is the problem when it’s the receiver. If your neighbor’s remote still opens the gate, the receiver’s fine and the remote’s the issue. If nobody’s remote works, it’s the receiver or the board – not the remotes.
- Running a Chico gate on a solar operator without checking the panel angle. Panels that were fine a year ago drift out of the sun as trees grow. A cheap panel-angle adjustment is far better than a battery replacement every summer.
See the difference
 Before
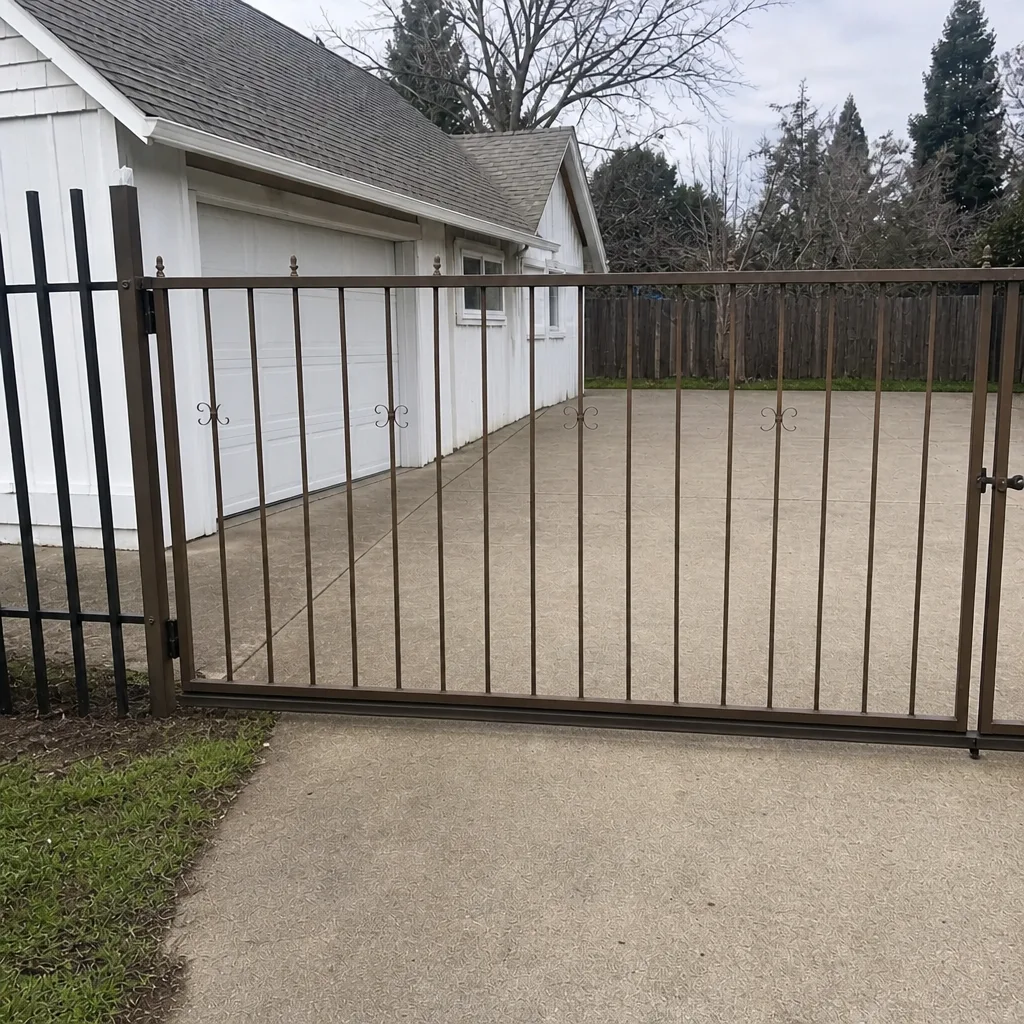 After
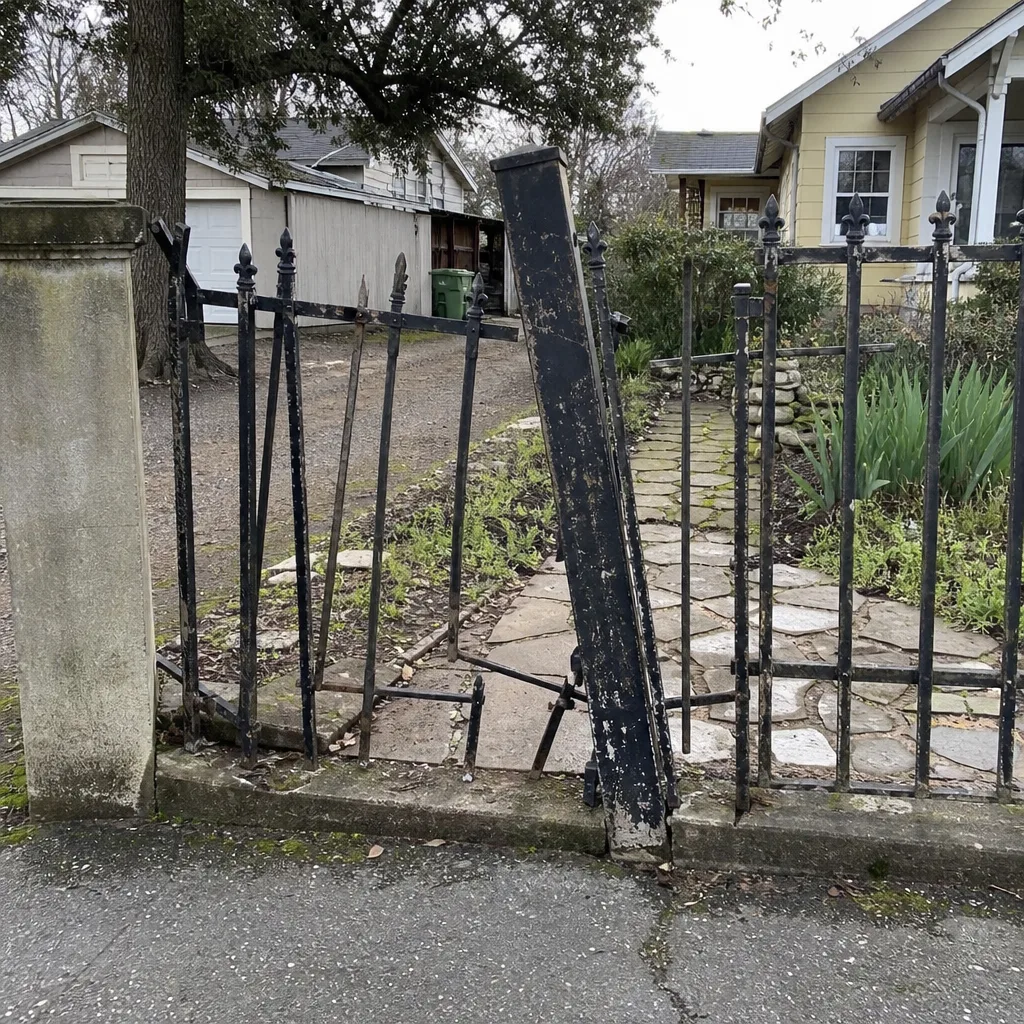 Before
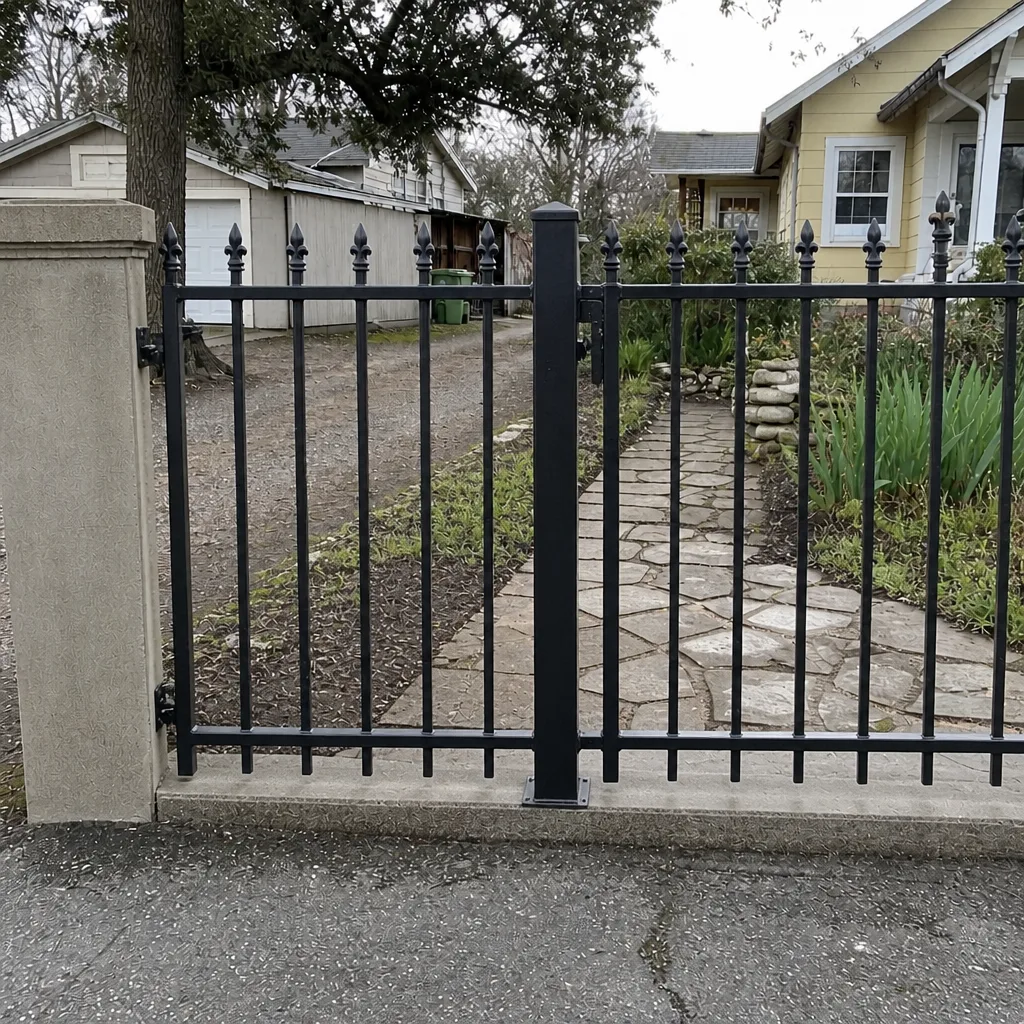 After
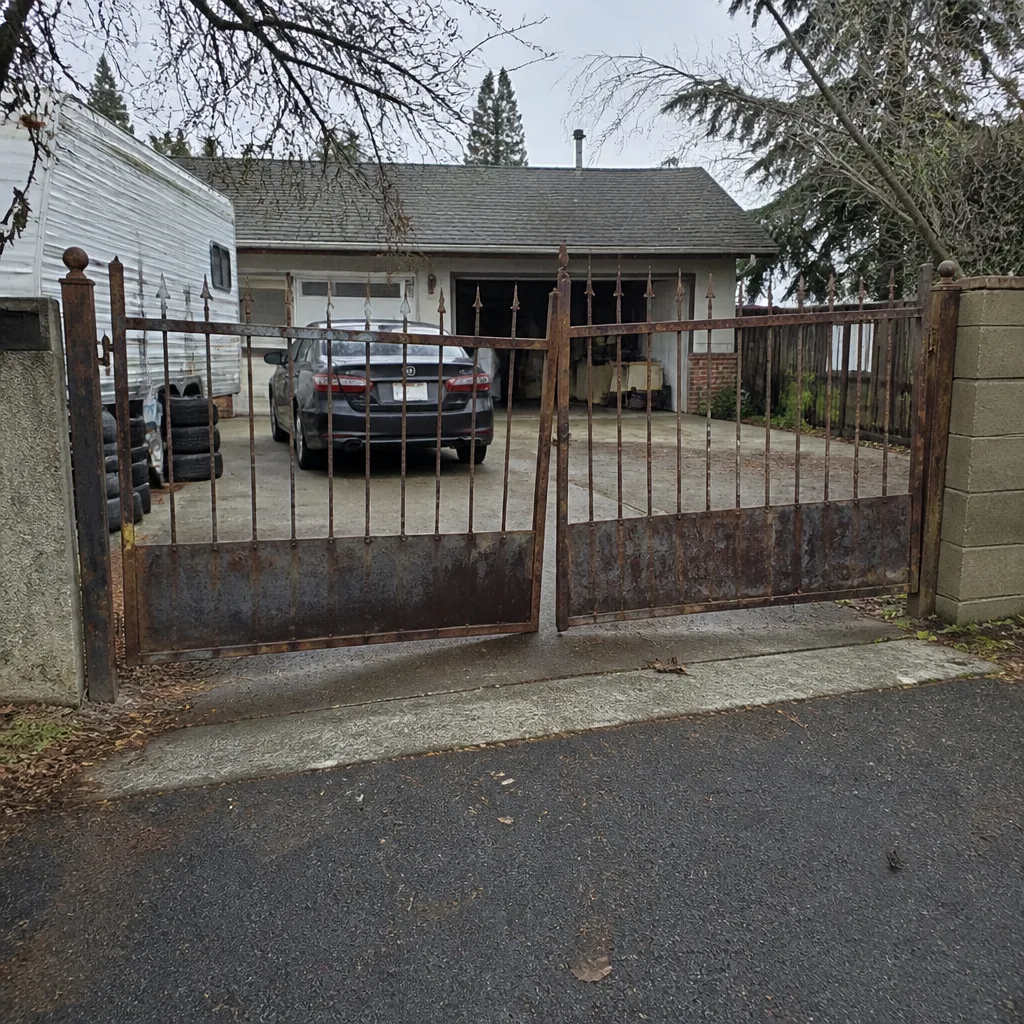 Before
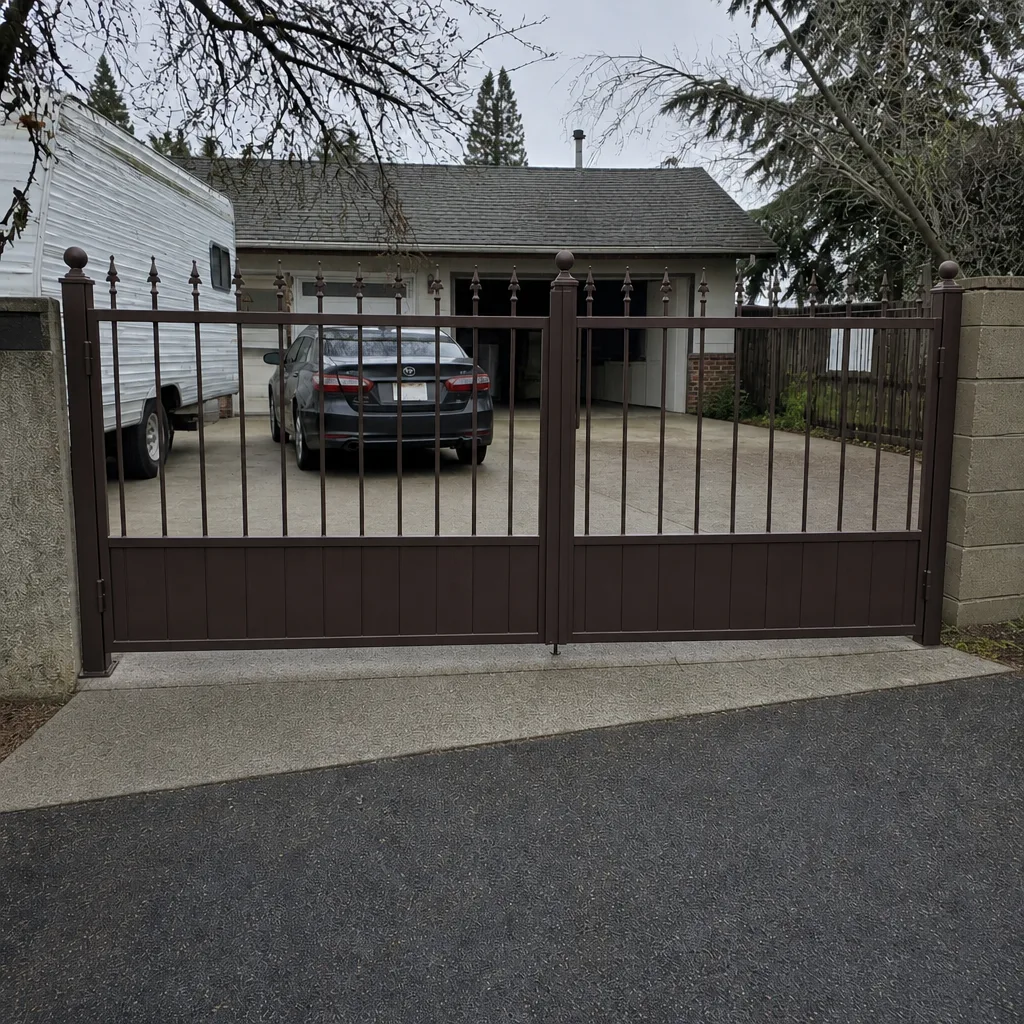 After
When to Call a Professional
Call a technician if the gate won’t open and the breaker, remote batteries, and sensor alignment are all clean. Call if the operator’s fault code points to a control-board or limit-travel problem, if any wire shows heat damage or corrosion, if the gate reverses for reasons you can’t see, or if the gate is sagging or the post has shifted. Anything that involves opening the electrical housing, testing 120-volt wiring, or trusting a safety device is not a homeowner job. Gate Repair Chico offers free estimates in Chico – call (866) 369-2364. We answer 24/7. Fast dispatch from 7am to 7pm, Sunday through Friday.
Frequently Asked Questions
Heat is usually the cause. Chico summers expand the operator housing and gate hardware enough to drift the limit switch calibration, so the operator’s travel logic no longer matches the physical gate. The fix is typically a limit recalibration and often a shade cover over the operator. Call (866) 369-2364 for an exact quote – estimates are free.
If anything lights up, beeps, or clicks when you press the remote, the power category is likely fine and you’re facing signal (remote, keypad, photo-eye, or loop detector). If nothing happens at all – no LED, no click, no motor sound – you’re in power territory. Check the breaker, fuse, and backup battery first. If it’s still dead, call (866) 369-2364 – estimates are free.
Yes, up to a point. Reading the diagnostic LED and cross-referencing the blink pattern with the manual is safe and useful. Anything past that – opening the electrical housing, probing wiring, resetting the board, or bypassing a safety device – moves into territory that can void your warranty or damage the control board. If the code points to a board fault, call (866) 369-2364 for a free estimate.
That pattern points at the remote or the receiver, not the operator. Replace the remote’s battery, then try a second remote if you have one. If the second remote works and the first doesn’t, it’s the remote. If neither works but the keypad does, the receiver or its antenna is the issue. Either way, call (866) 369-2364 – estimates are free.
A once-a-year inspection is a good baseline for a residential gate, and twice a year for a commercial gate that cycles dozens of times a day. We calibrate limits, check the safety edge and photo-eye, and look at hinge and roller wear. There’s no maintenance plan to sign up for – each visit is priced per job by a written estimate.
Yes. We work on nine named manufacturers, including LiftMaster, FAAC, BFT, Linear, Viking, Ghost Controls, DoorKing, Elite, and Mighty Mule. That covers the residential and light-commercial operators we see most in Chico. Call (866) 369-2364 with your brand and model ready – estimates are free.
The Bottom Line
The four-category framework does most of the work. Power, signal, mechanical, control board – sort the symptom into one of those four buckets and half the diagnostic effort is already done. Read your operator’s fault code when it offers one. Check the battery and the safety sensors first, since together they account for a large chunk of the calls we see. Watch for Chico’s summer heat drifting your limit switches, and don’t fix stiffness with grease. Anything touching the operator’s electrical wiring or safety devices goes to a trained technician, not to a DIY attempt. If you get stuck, we’re here with free estimates and gate-only expertise.
Call (866) 369-2364 for a free estimate on your Chico gate repair. We answer 24/7. Fast dispatch from 7am to 7pm, Sunday through Friday. Our technicians have up to 9 years of experience with the brands on your gate – whether it’s a Mighty Mule on a driveway or a DoorKing on a commercial lot. If you’re not sure what’s wrong, start with a call and we’ll help you sort it into the right category before you spend a dollar. Read more about our Chico service area or our Gate Repair Chico home page for the full picture.
Written by the team at Gate Repair Chico.