
Last updated November 16, 2026
 Wrought iron
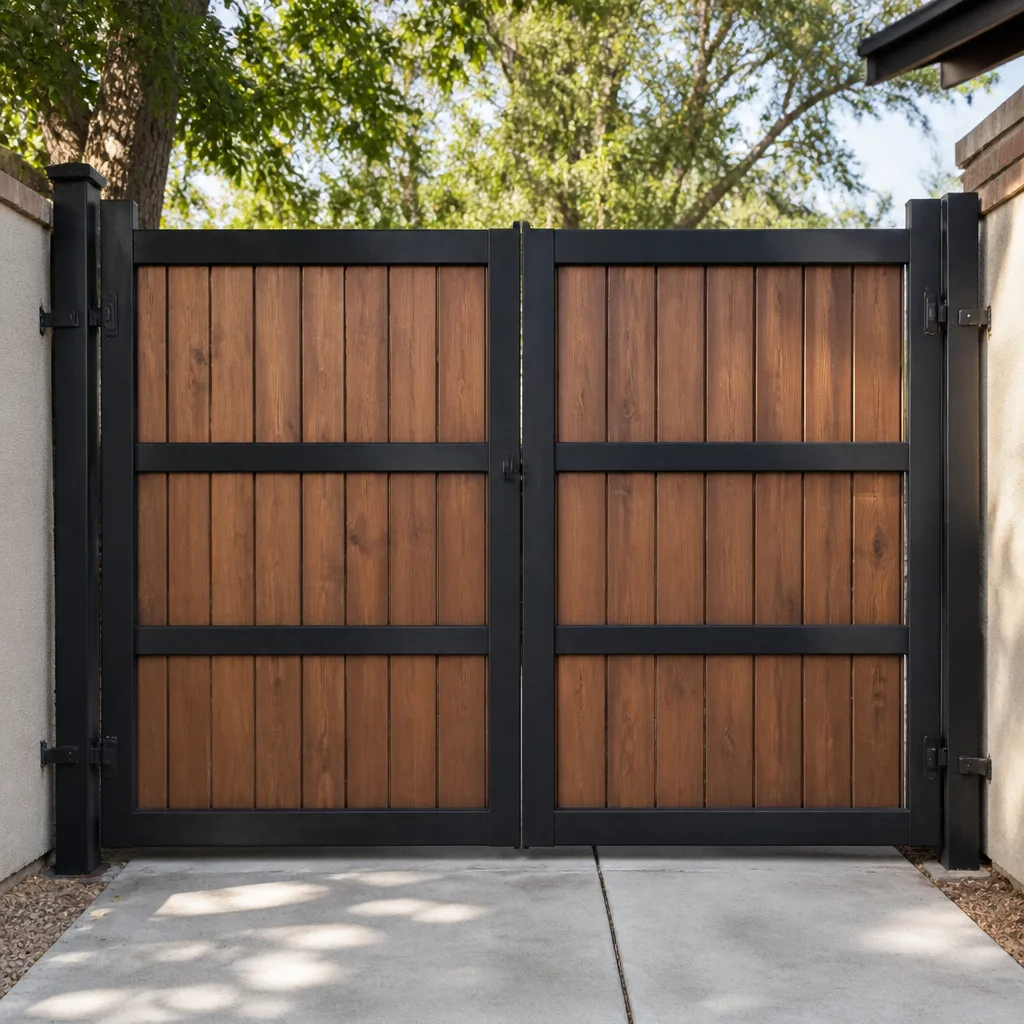 Wood & steel frame
 Farm & ranch
 Sliding driveway gates
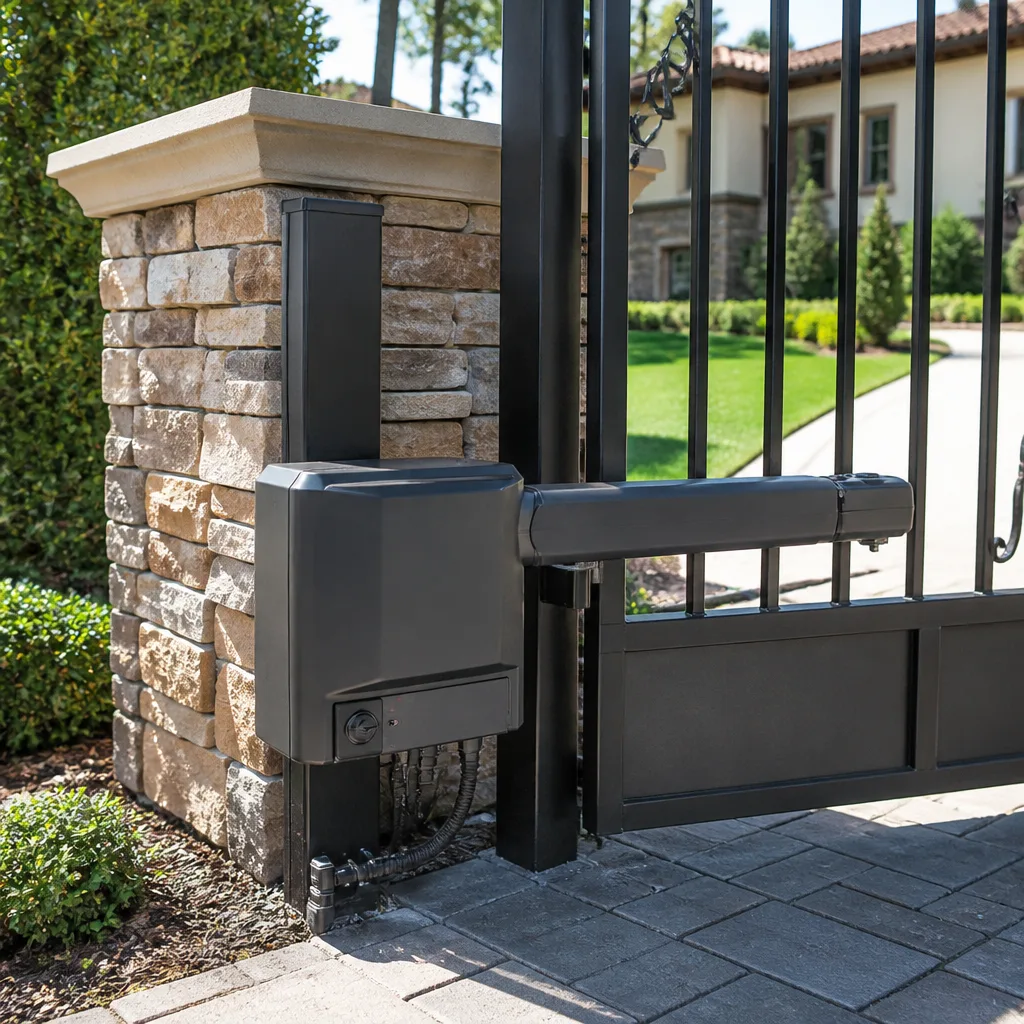 LiftMaster operators
Free on-site gate assessment - hinges, posts, and your LiftMaster or Nice gate operator checked before anything is quoted
The assessment is free and the quote is the invoice.
Get your free estimateGate Repair Maintenance Checklist for Chico Homeowners
Most gate maintenance checklists floating around online were written for temperate climates and then copied everywhere. They tell you to lubricate twice a year, tighten some bolts, and call it done. That advice is fine in a place with mild summers. In Chico, where summers run past 100°F and the afternoon sun bakes a control board enclosure for eight hours straight, a generic checklist misses the tasks that actually prevent failures. We’ve diagnosed enough dead operators and seized hinges in Chico to know which six chores stop roughly 80% of the service calls we see, and most checklists skip half of them. This guide walks through each one, in order, with pass/fail benchmarks you can test yourself.
Quick Answer
A useful gate maintenance checklist for a Chico homeowner covers six things: UV and heat inspection of wiring and control boards before summer arrives, lubrication intervals adjusted for dry heat, monthly obstruction sensor and auto-reverse testing, quarterly post-lean measurement to catch movement in expansive clay soil, scheduled battery backup testing for your specific operator brand, and an annual look at hinge, roller, and track wear. Do the first four yourself, and have a gate-specialist technician handle anything involving power, control boards, or gate panels.
Styles & brands we work with
- Wrought iron
- Wood & steel frame
- Farm & ranch
- Sliding driveway gates
- LiftMaster operators
Table of Contents
- Why Chico’s Climate Rewrites the Standard Checklist
- Task 1: UV and Heat Inspection Before Summer
- Task 2: Lubrication Intervals for Dry Heat
- Task 3: Testing Obstruction Sensors and Auto-Reverse
- Task 4: Post Movement in Chico’s Expansive Clay
- Task 5: Battery Backup Testing by Brand
- Task 6: Hinge, Roller, and Track Inspection
- A Year-Round Schedule for Chico Gates
- Common Mistakes to Avoid
- When to Call a Professional
Why Chico’s Climate Rewrites the Standard Checklist
Chico averages over 240 sunny days a year. For a driveway gate, that’s not a selling point, it’s a countdown. Ultraviolet light degrades the insulation on exposed low-voltage wiring, hardens rubber seals around control board enclosures, and yellows the plastic housings that protect circuit boards from dust and moisture. Combine that with summer afternoons that push well past 100°F inside a steel or aluminum operator housing, and the electronics on your gate are working in conditions the manufacturer’s temperate-climate instructions never really anticipated.
The heat does two things. First, it accelerates the aging of any rubber or plastic component. Second, it causes thermal expansion in metal brackets and mounting plates, which loosens fasteners over time and shifts alignment. A gate that opens smoothly in a cool month can bind in July because the frame has expanded into the path of a roller.
The soil matters just as much. Much of the Chico area sits on expansive clay that swells when it takes on winter moisture and shrinks as it dries through the long warm season. That movement is gradual but relentless, and it’s the quiet cause behind a lot of gates that suddenly start dragging, sagging, or stopping halfway. Generic maintenance advice written for sandy or rocky ground doesn’t address it.
And the power grid adds a third variable. Chico sees its share of outages, especially when summer heat strains the system or a storm rolls through. A gate without a working battery backup becomes a manual gate at exactly the moment you need it most. This is why Gate Repair Chico treats battery testing as a core maintenance item rather than an optional extra.
What follows is the checklist we’d hand a Chico homeowner directly. Nothing on it requires special tools except a tape measure, a level, and a few minutes of attention each month.
Task 1: UV and Heat Inspection Before Summer
The single highest-value maintenance task in Chico happens in late spring, before the first real heat wave, not during it. Once the temperature climbs, the damage is already under way. You want to catch cracked insulation and degraded seals while they’re still cheap to fix.
Start with the wiring. Trace every low-voltage cable from the operator to the keypad, the safety sensors, and any access control components. Look for:
- Cracks or flaking on the outer insulation, especially where cable runs in direct sun
- Faded, chalky, or brittle wire sheathing, which signals UV breakdown
- Exposed conductor anywhere the jacket has split
- Loose cable clips that let wire rub against a metal edge
Next, inspect the operator housing and control board enclosure. The gasket or seal around the cover is what keeps dust and moisture off the board. UV exposure hardens it, and heat cycles gradually peel it away. A seal that no longer sits flat, or a cover screw that won’t tighten, is a warning sign. When that seal fails, dust and insects find their way in, and a control board doesn’t tolerate either.
Finally, look at anything plastic or rubber that sits in the sun: sensor housings, the photo-eye lens, keypad covers, and the plastic bushings on swing arms. Compare their color and texture to protected components. Chalky, dull, or greasy-feeling plastic is breaking down.
If you find damaged wiring or a failing enclosure seal, that’s a job for a trained technician. Low-voltage wiring may carry less current than a household circuit, but it’s still electrical work inside a system with a power supply and a battery. Don’t tape over a split cable and call it fixed. The repair is usually minor and worth getting right before summer.
Task 2: Lubrication Intervals for Dry Heat
Manufacturer lubrication charts are often written for temperate climates: lubricate twice a year and it’s fine. In Chico’s dry heat, that schedule is too slow for some components and too fast for others. Getting it wrong causes real problems. Over-lubrication in a dusty environment turns grease into an abrasive paste. Under-lubrication in dry heat lets metal rub metal until something seizes.
Here’s how we’d adjust the intervals for a Chico gate:
- Hinges and pivot points: Inspect monthly, lubricate lightly every two to three months with a dry or penetrating lubricant that doesn’t hold dust. In dry heat, the lubricant film thins faster than in cooler climates.
- Rollers and tracks (slide gates): Clean dust and grit from the track every month, then apply a light coating of lubricant to the roller bearings rather than the track surface itself. Greasy track surfaces attract dust and accelerate wear.
- Operators and swing arms: Follow the manufacturer’s grease points but inspect for dryness more often in summer. If a swing arm starts to bind halfway through its arc, the joint needs attention.
- Chains and drive components: Keep them clean and lightly lubricated with a product meant for chain drives. Avoid heavy axle grease, which collects grit in Chico’s dust.
One thing to watch: if your gate suddenly starts making a grinding or squealing sound, the sound is a symptom, not the problem. Lubricant can temporarily hide a failing bearing, but it won’t fix it. That’s the point where a closer look pays off. If you’re not comfortable diagnosing which component is failing, the team that handles gate repair in the area can pinpoint it quickly.
Keep a simple log. Note which points you lubricated and when. Each gate wears differently depending on how much it’s used and how tight its tolerances are, so your own log will eventually be more accurate than any generic chart.
Task 3: Testing Obstruction Sensors and Auto-Reverse
Safety sensors and auto-reverse functions are the part of your gate you hope you never notice. But they only protect a person or a vehicle if they’re still working. Test them monthly, and use real pass/fail benchmarks instead of a casual wave of the hand.
Here’s the test procedure:
- Photo-eye alignment: Confirm the two sensors (on the outside of your driveway or along the gate opening) are aimed at each other, clean, and free of dirt. Physical obstructions like spiderwebs or a paper bag can block the beam.
- Beam interruption: With the gate in motion, pass your hand or a long stick through the sensor’s beam. The gate should stop or reverse immediately. If it keeps moving, the sensor or its wiring has failed the test.
- Physical obstruction: Place a solid object (a cardboard box works well) in the gate’s path and command the gate to close. It should stop and reverse on contact with the object. This tests the auto-reverse mechanism itself, not just the photo-eye.
- Check the indicator lights: Most sensors have a small LED that stays solid when the beam is clear and blinks or changes color when it’s interrupted. Consult your operator’s manual for what the lights mean.
A sensor that fails the test is a safety failure, not a convenience issue. A gate that closes on a child or a pet because its beam is misaligned can cause serious injury. If your auto-reverse doesn’t stop the gate, don’t use the gate for automated operation until it’s repaired. Call a technician to test and repair the sensor circuit. It’s a small diagnostic job, and it’s worth doing before you forget about it.
Once you’ve tested the components, check their mounts too. A sensor knocked slightly out of alignment by a lawnmower or a car door is the most common cause of a gate that refuses to close on command.
Task 4: Post Movement in Chico’s Expansive Clay
Gates sit on posts, posts sit on footings, and in Chico footing depth and soil movement matter. Much of the area’s soil is expansive clay that swells in the wet months and shrinks through the dry season. Over a year, that cycle can nudge a post subtly out of true. The gate doesn’t fail all at once. It starts to drag, scrape, or stick, and the symptoms look like a mechanical problem when the real cause is a post that has moved.
A quarterly measurement catches this early:
- Mark a baseline: On a calm day, use a level or plumb line against each gate post where it meets the ground and where it meets the gate hinge. Note whether it’s plumb.
- Measure lean: Rest the end of a level against the post, with the bubble centered as well as it will go, and note any gap between the level and the post at the top. Record the gap with a tape measure. Do this in the same spot each time so your numbers are comparable.
- Record it: Write down the date, the measurement, and which post. A record shows you whether movement is a one-time settling or a trend.
- Compare quarterly: A small change over a full year is normal. A change in a single month, or steady drift over a few months, means the post or its footing needs attention.
The measurement is the easy part. The fix is not. Adjusting a gate that has moved onto a shifted post rarely works for long, because the underlying footing is still moving. If a post has begun to lean or sink, call a technician to look at it. Fixing a gate that keeps binding due to a moving post quickly becomes a matter of assessing the footing, not just the hardware.
This is also where a Chico-specific eye helps. If your gate sits on a slope or near a drainage line where water pools in the wet season, movement will be faster. Pay attention to where water goes during the winter and tell a technician what you’ve noticed.
Task 5: Battery Backup Testing by Brand
Battery backup turns a power outage from a nuisance into a non-event. But batteries age quietly. A backup battery that hasn’t been tested in a year may have lost most of its capacity without a single warning light. Test it on a schedule, and test it differently depending on the brand of your operator.
Here’s a testing framework:
- Test schedule: Once every six months, and again before the hot season if you live in an area prone to summer outages. Many operators have a built-in test mode or a low-battery indicator. Check the manual for your specific model.
- Connected capacity test: With the gate disengaged or in manual mode, trigger the battery test if your operator has one. Otherwise, unplug the main power briefly to see whether the gate still operates on battery power. It should run a normal cycle.
- LiftMaster systems: Many LiftMaster operators have battery backup integrated into the operator housing and offer a low-battery indicator on the control unit. Follow the manual’s test procedure and swap the battery when the indicator tells you to, not later.
- DoorKing and similar commercial-grade operators: These often use separate battery panels or external battery boxes with their own charge controllers. Test the voltage and follow the manufacturer’s service interval. Commercial-grade batteries often last longer than residential ones but fail suddenly when they do.
- Ghost Controls, Elite, Viking: Solar and low-voltage operators often include a battery as standard. If you rely on a solar operator, battery health is everything, because it carries the load on cloudy days and at night. Test more often in winter when sun hours are shorter.
Replacement batteries are usually inexpensive compared to a gate that refuses to open during an outage. When you replace a battery, note the date on the battery or in your log so you know its age.
Task 6: Hinge, Roller, and Track Inspection
The mechanical layer of your gate takes a beating. Hinges and pivot points wear from constant use. Slide gate rollers wear from running on a track that collects grit. The wear is gradual, and if you catch it early, you avoid a bigger repair later.
Start with the swing gate hinges. Open the gate manually and listen. A tight hinge squeaks or creaks. A worn hinge lets the gate sag slightly, which you can spot by looking at the gap between the gate and the post along the full height of the hinge line. A gap that is narrower at the bottom than the top means the gate has dropped and the hinge or post needs attention.
For slide gates, look at the rollers and the track. Worn rollers have flat spots or spin unevenly. The track should be clean and free of rust, and the gate should travel smoothly along its length. If the gate has started to climb the track or rub on the track edge, a roller has likely worn or a track fastener has loosened.
Look at the gate panels themselves, too. Heavy steel and aluminum panels can develop cracks at the corners or where brackets attach, especially if a gate has been allowing the wind to catch it. A gate that slams shut or catches gusts on a windy ridge can develop a metal fatigue crack over time. Catching it early is a weld or brace repair; catching it late is a new gate.
Finally, check the fasteners. Heat expansion and daily cycling work bolts loose. A quick pass with a wrench on visible bracket bolts is one of the most overlooked maintenance tasks, and one of the easiest.
A Year-Round Schedule for Chico Gates
Here’s how the six tasks map across the year. Adjust to how much your gate runs and whether it sits in full sun or shade:
- Monthly: Test obstruction sensors and auto-reverse (Task 3). Inspect hinges for dryness and squeaks. Clear the slide track of grit.
- Quarterly: Measure post lean (Task 4). Lubricate hinges and pivot points (Task 2). Look at the operator housing seal.
- Pre-summer (late spring): UV and heat inspection of wiring and enclosures (Task 1). Battery backup test (Task 5) before the hot season. Torque visible fasteners.
- Post-summer (early fall): Full inspection of hinges, rollers, and track (Task 6). Battery backup test again. Check for cracks in gate panels.
- Pre-winter: Check drainage paths near posts so water doesn’t pool around footings. Clear debris from the gate area.
A simple calendar or phone reminder for each of these goes a long way. A gate is mechanical and electrical, and it works better with a little attention than with none. For a deeper look at what a full diagnostic visit covers, our guide to electric gate repair goes through the specific components a technician checks.
Common Mistakes to Avoid
- Lubricating everything with the same grease. Heavy grease collects dust in a dry climate and turns into an abrasive paste. Use lighter, dust-resistant lubricants for hinges and rollers, and follow the operator manual for drive components.
- Skipping the pre-summer UV inspection. Waiting until a wire fails in July costs more than looking at it in April. UV damage is gradual but predictable, and it’s cheap to fix early.
- Ignoring a sensor that fails its test. A gate that doesn’t auto-reverse on contact is a safety hazard. Don’t put off repair until the gate “acts up” more clearly.
- Adjusting a binding gate without checking the posts. If a post has moved on expansive clay, adjusting the gate hardware only masks the problem until it returns. Measure lean before adjusting anything.
- Treating a battery backup as maintenance-free. Batteries fail silently. A quick test every six months costs minutes and prevents a gate from dying during an outage.
- Using a general handyman for gate electronics. Gates have their own control systems, sensor circuits, and brand-specific operator behavior. A specialist who works with LiftMaster, FAAC, BFT, Linear, Viking, Ghost Controls, DoorKing, Elite, and Mighty Mule systems just narrows the diagnosis.
- Forgetting the fasteners. Thermal expansion works bolts loose. A wrench and a few minutes each season catch problems before they become rattles and shifts.
Whether it’s a Mighty Mule on a driveway or a DoorKing on a small commercial lot, the same principles apply. The parts differ, but the checklist is universal once you account for the climate and the soil.
See the difference
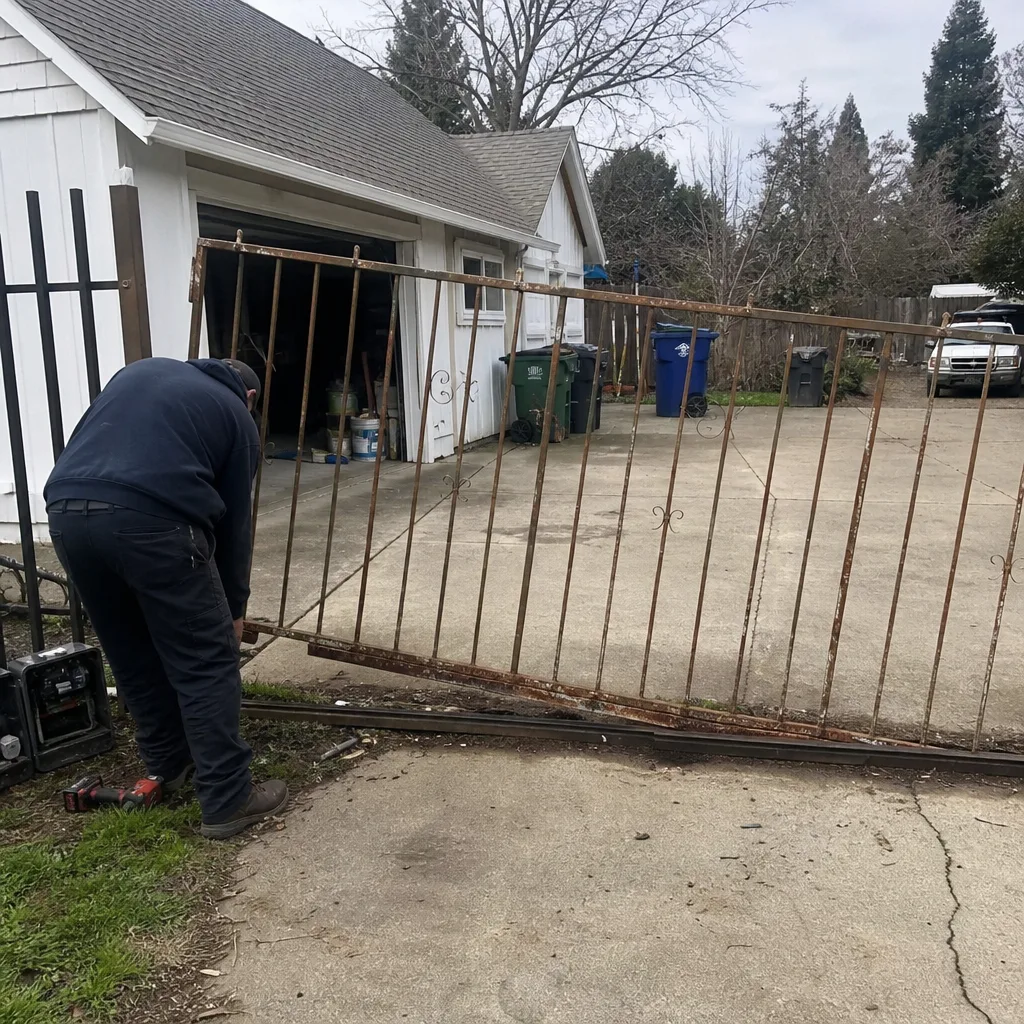 Before
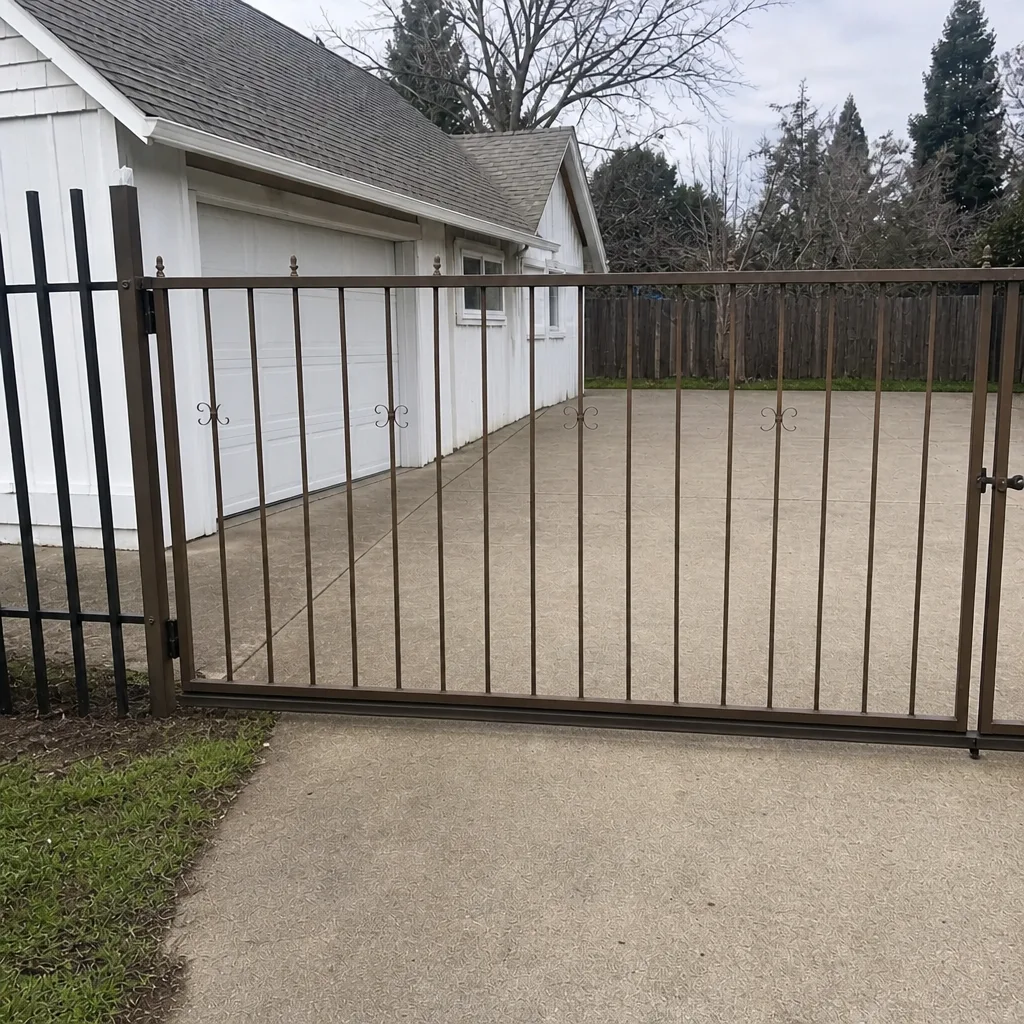 After
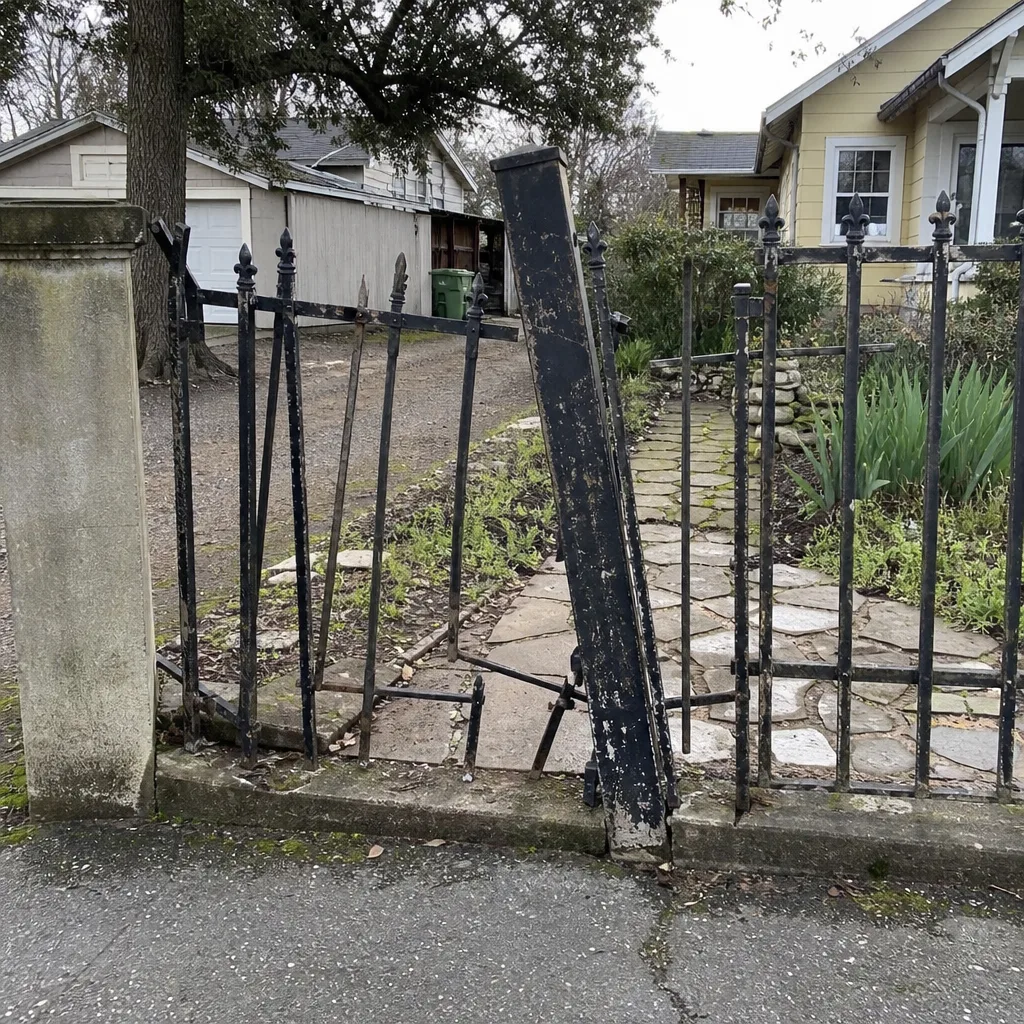 Before
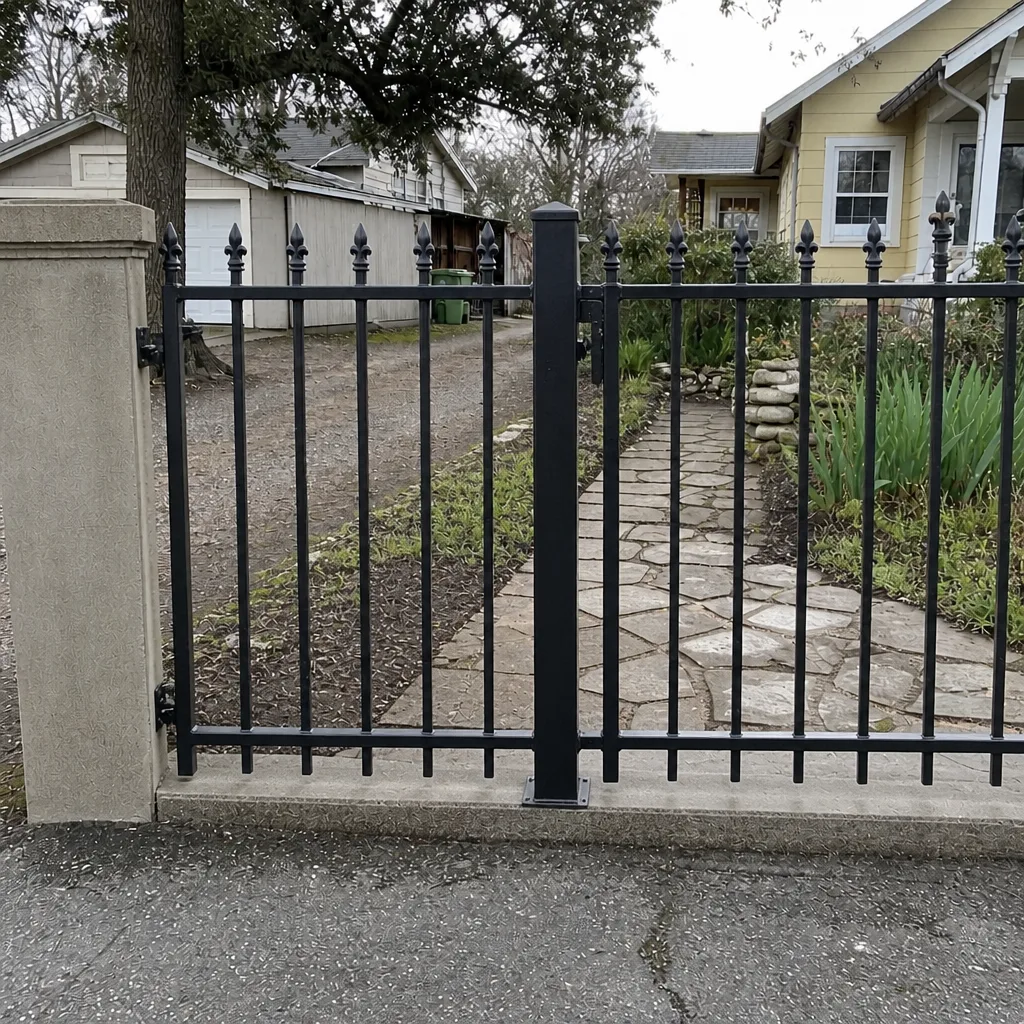 After
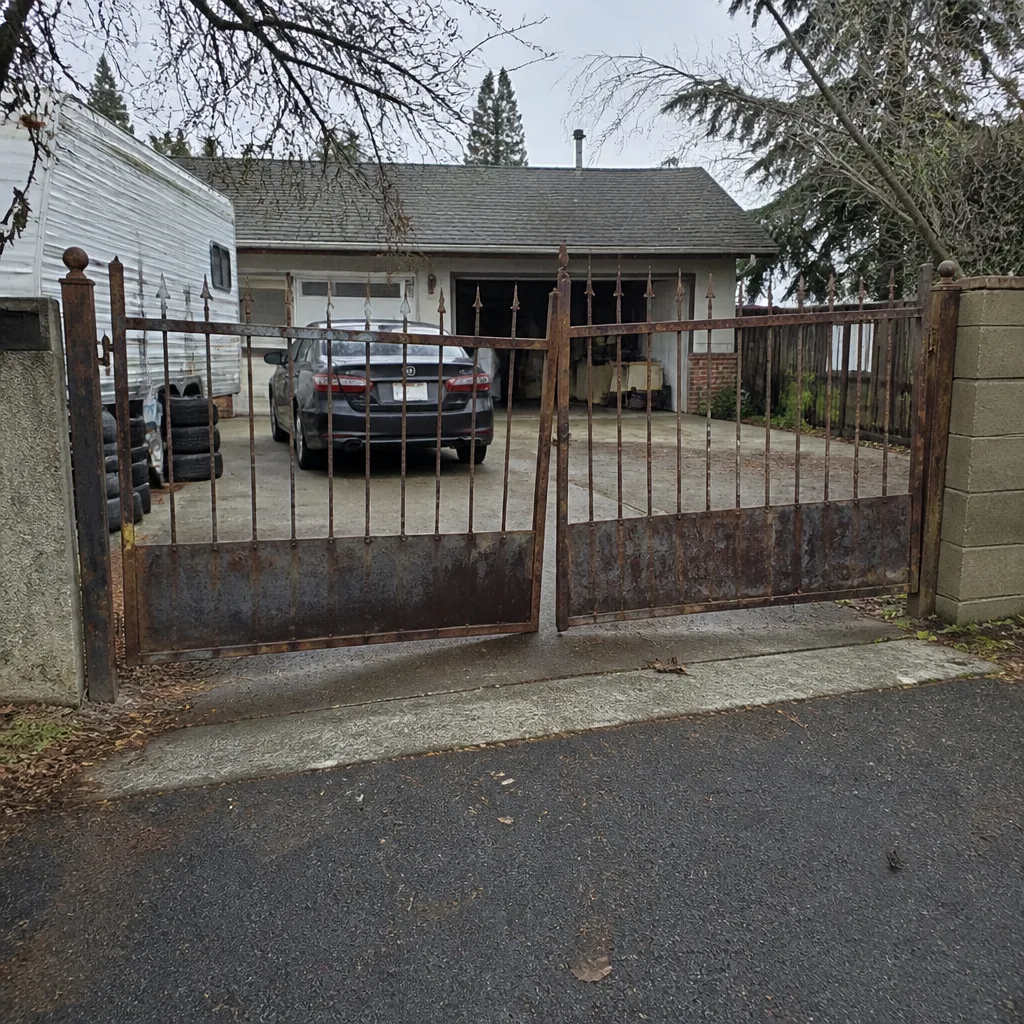 Before
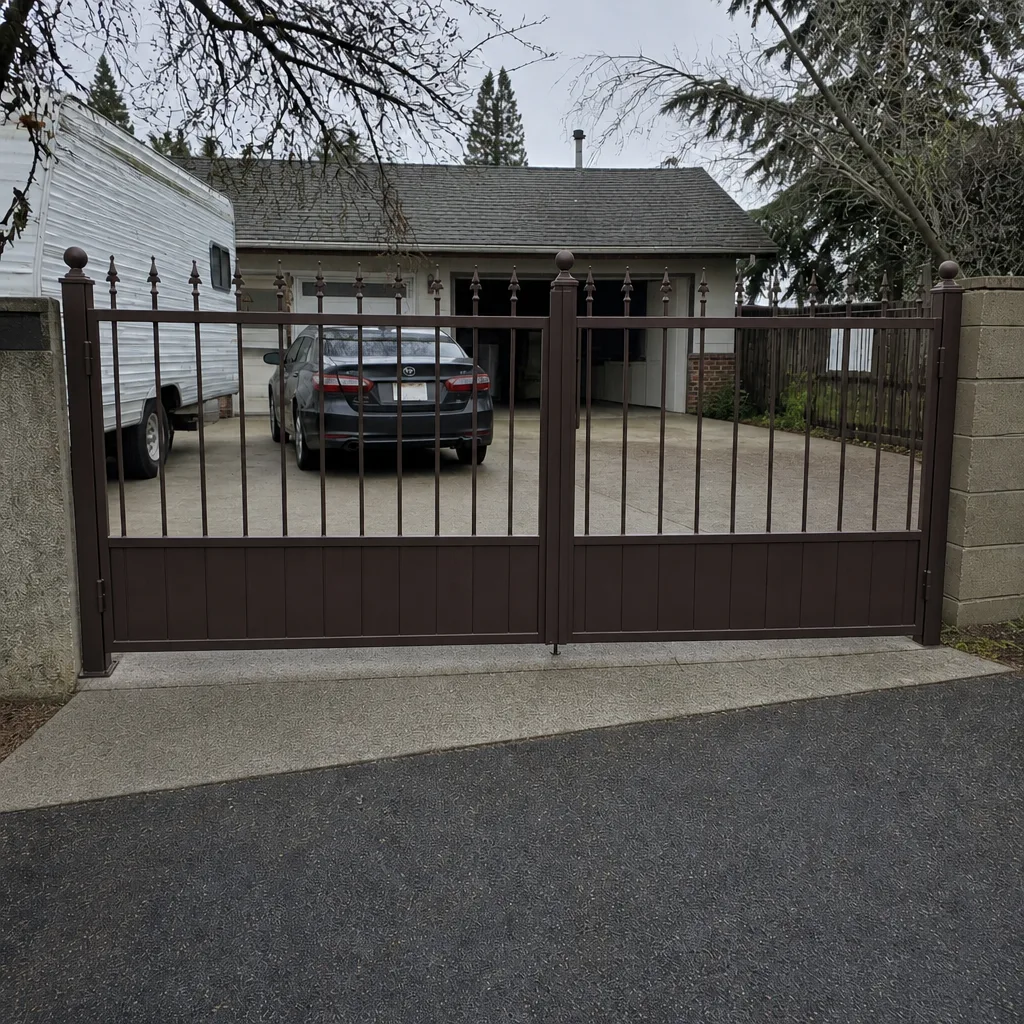 After
When to Call a Professional
Some of the checklist is safe to do yourself: visual inspections, sensor tests, battery checks, and post-lean measurements. But some of it isn’t. Wiring repairs, control board issues, binding that persists after lubrication, post footings, and anything that involves high-voltage power or heavy gate panels belong with a trained technician.
Call a professional if your auto-reverse or photo-eye test fails, if your gate moves unevenly or binds after you’ve lubricated it, if a post has started to lean or sink, if the operator housing is cracked or its seal is failing, if the battery backup won’t run a normal cycle, or if you hear a grinding sound that won’t go away. Gate panels are heavy, and a gate that fails while you’re working on it can cause serious injury. A specialist who works on gates every day can diagnose the problem faster than a general repair visit.
Gate Repair Chico offers free estimates in Chico – call (866) 369-2364. Our technicians have up to 9 years of experience and work on all nine major brands, so you won’t be handed a replacement quote just because the brand isn’t familiar.
Frequently Asked Questions
Inspect hinges and pivot points monthly and lubricate lightly every two to three months with a dust-resistant product. In dry heat, lubricant films thin faster than in cooler climates, so a slightly more frequent schedule than the typical manufacturer recommendation for temperate climates is safer for Chico homes. Clean slide tracks every month and apply lubricant to roller bearings, not the track surface.
Yes, you can and should test them safely once a month without touching the gate while it’s moving. Test the photo-eye by passing your hand through the beam with the gate in motion, and test auto-reverse by placing a solid object in the gate’s path and commanding it to close. The gate should stop or reverse. If it doesn’t, don’t use automated operation until a technician has repaired it.
Heat expansion makes metal components shift slightly, and dust accumulates faster when the air is dry. A gate that binds in summer often has a loose fastener, a dry hinge, or a post that has moved on expansive clay. Lubricate first, then check post lean and fastener tightness. If the binding continues, call a gate technician to look at the alignment.
Test it every six months by following your operator manual’s battery test procedure or by briefly interrupting main power to see if the gate still runs a normal cycle on battery. Many LiftMaster operators have a low-battery indicator on the control unit. Solar operators, such as Ghost Controls units, need more frequent testing in winter when sun hours are shorter.
Yes. Expansive clay swells with winter moisture and shrinks through the dry season, and that cycle can gradually move a post out of true. Measure lean quarterly and record the readings. A small change over a year is normal; steady drift in a few weeks means the post or its footing needs attention from a technician.
Yes, because early detection is what keeps a small fix from becoming a big one. Worn rollers and hinges show up as squeaks, sagging, or uneven travel, all of which are easier to correct early. A quick monthly visual check takes a few minutes and lets you catch a problem before it affects the operator or the gate panels. For a detailed breakdown of what a technician checks when you call, see our Chico gate service page.
The Bottom Line
A gate maintenance checklist that works in Chico looks different from the standard one. Heat and UV exposure, dust, expansive clay soil, and long sunny summers all change the schedule. Do the monthly sensor tests and visual checks yourself, measure post lean quarterly, and inspect wiring and enclosures before summer arrives. Have a gate specialist handle wiring repairs, control board issues, post footings, and anything involving gate panels. Our technicians have up to 9 years of experience across all nine major brands, and we’re gate-only specialists, so your diagnostic isn’t a guess. Call (866) 369-2364. We answer 24/7. Fast dispatch from 7am to 7pm, Sunday through Friday, with free estimates and the price quoted and agreed before any work starts.
Written by the team at Gate Repair Chico.